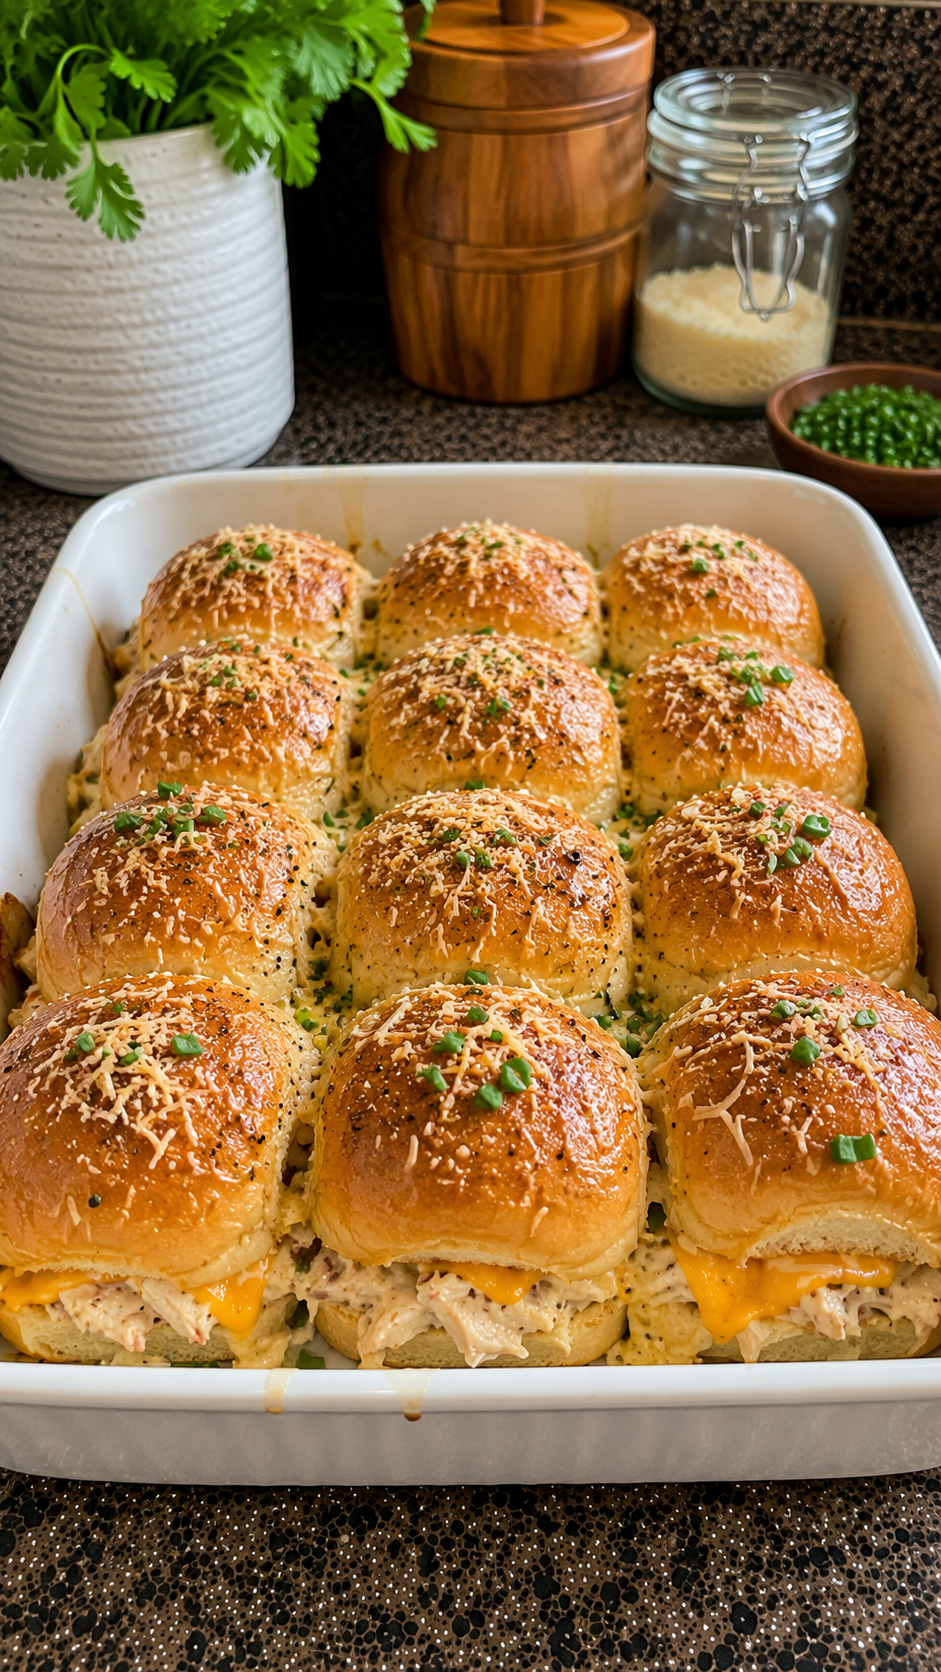
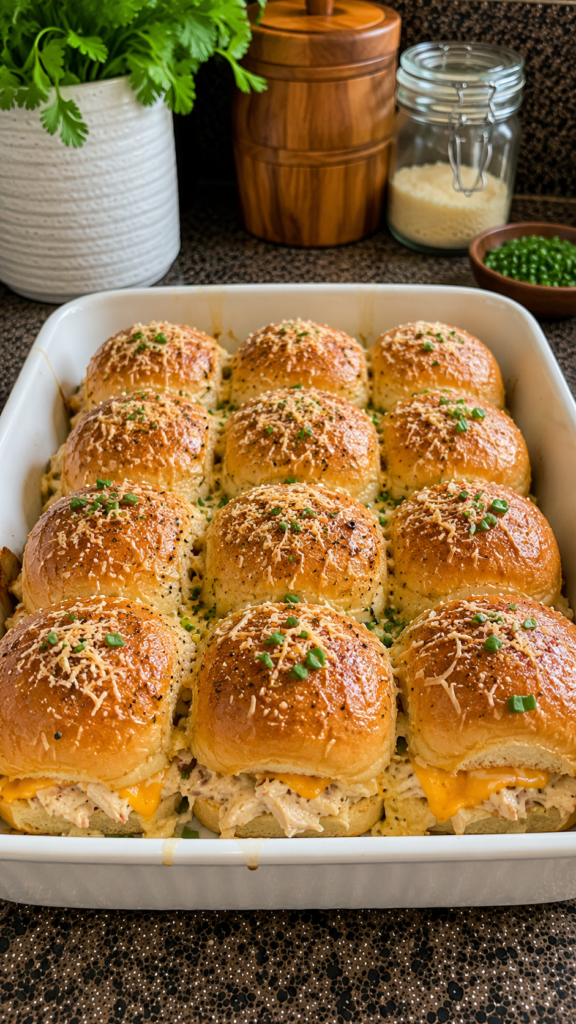
The first time I made these sliders, I assumed they’d be one of those recipes people politely eat and then forget about. I was very wrong. The pan was empty before halftime, and two different people asked me for the recipe before they left. Since then they’ve become my go-to whenever I need something easy, cheesy, and guaranteed to disappear fast.
Why You’ll Love This Crack Chicken Sliders
Because it tastes like the best parts of a loaded baked potato and a bacon cheeseburger had a baby, and it lives inside a Hawaiian roll. The cream cheese base makes the whole filling rich without being heavy, and bacon plus cheddar do what bacon and cheddar always do, which is make everything better. It’s also the kind of thing you bring to a potluck and come home with an empty pan I’ve tested this theory personally.
Everything You Need for Crack Chicken Sliders
- 1 package Hawaiian sweet rolls (12 connected rolls)
- 16 ounces cream cheese (2 × 8-ounce blocks), softened
- 3 cups shredded cooked chicken (about 1 large rotisserie chicken breast portion)
- 2 cups shredded cheese (cheddar, mozzarella, or a blend)
- ½ cup cooked bacon bits
- ¼ cup green onions, chopped
- ½ cup grated Parmesan cheese
- 2 tablespoons onion powder
- 1 teaspoon black pepper
- 4 tablespoons butter, melted, for brushing on top
Kitchen Tools Needed for Chicken Sliders
- Pan for the stovetop step.
- A baking dish for the sliders.
- A sharp bread knife for slicing the roll slab in half without destroying it.
- Aluminum foil.
- A spoon if you don’t own a pastry brush which I don’t, so the back of a spoon works completely fine.
Step for Crack Chicken Sliders
Shred the chicken a little more.
Rotisserie chicken is usually already pretty pull-apart, but I like smaller pieces in sliders, so I just broke it up more with my hands once it was out of the container.
Melt the cream cheese.
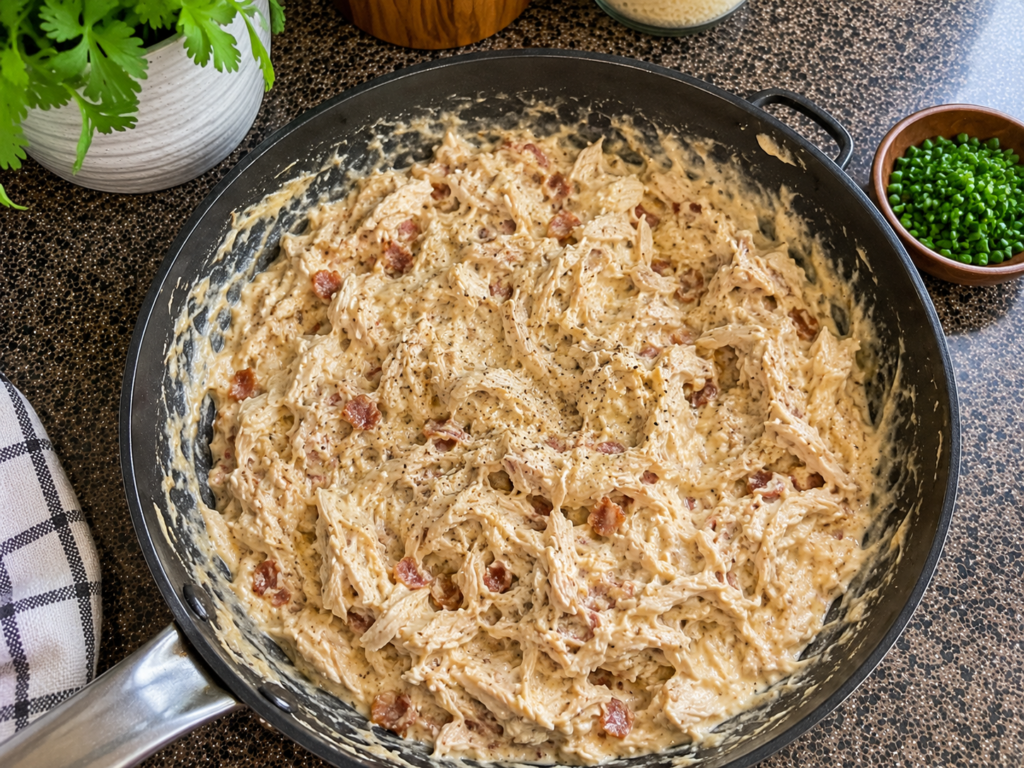
Do this in a pan over medium-low heat, stirring as it goes so it doesn’t stick or scorch. Once it’s melted and smooth, stir in the onion powder and black pepper. Then add the chicken and bacon bites and mix until everything’s coated and combined. It looks a little chaotic at this stage, honestly kind of unglamorous, but it smells really good.
Prep the rolls.
Don’t separate them keep the whole pack connected as one slab. Slice the entire thing in half horizontally so you end up with a top layer and a bottom layer. Put the bottom layer in your baking dish.
Layer everything.
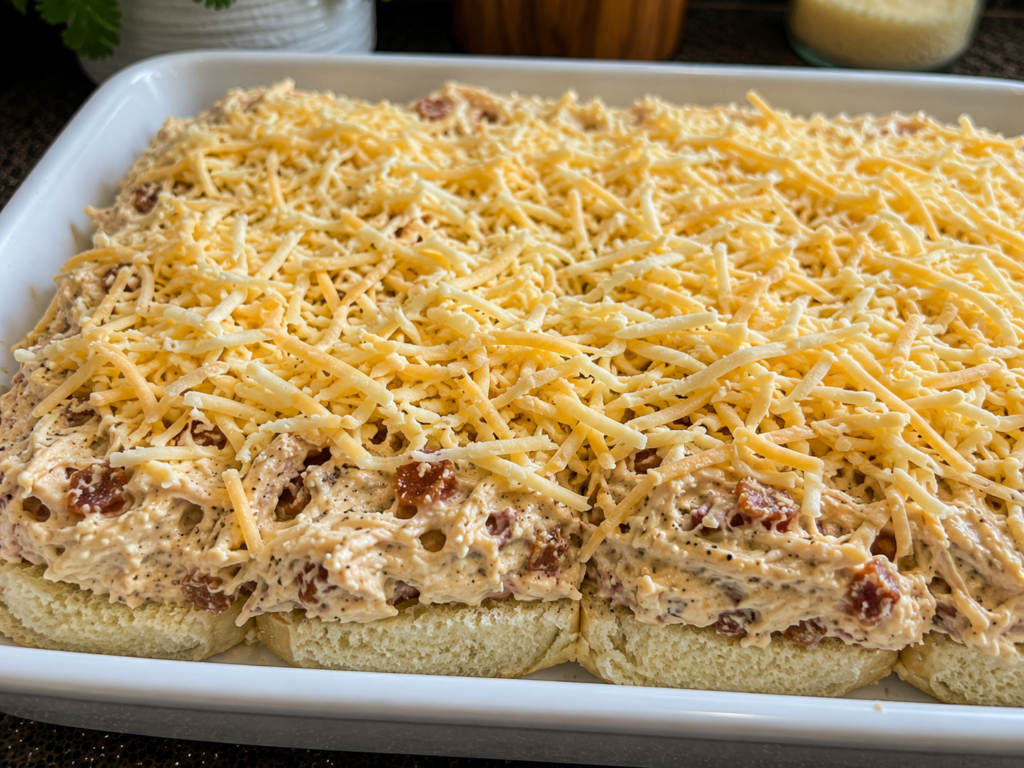
Spread the chicken mixture over the bottom rolls, then add your shredded cheese on top of that. Put the top layer of rolls back on like a lid.
Butter and cheese the top.
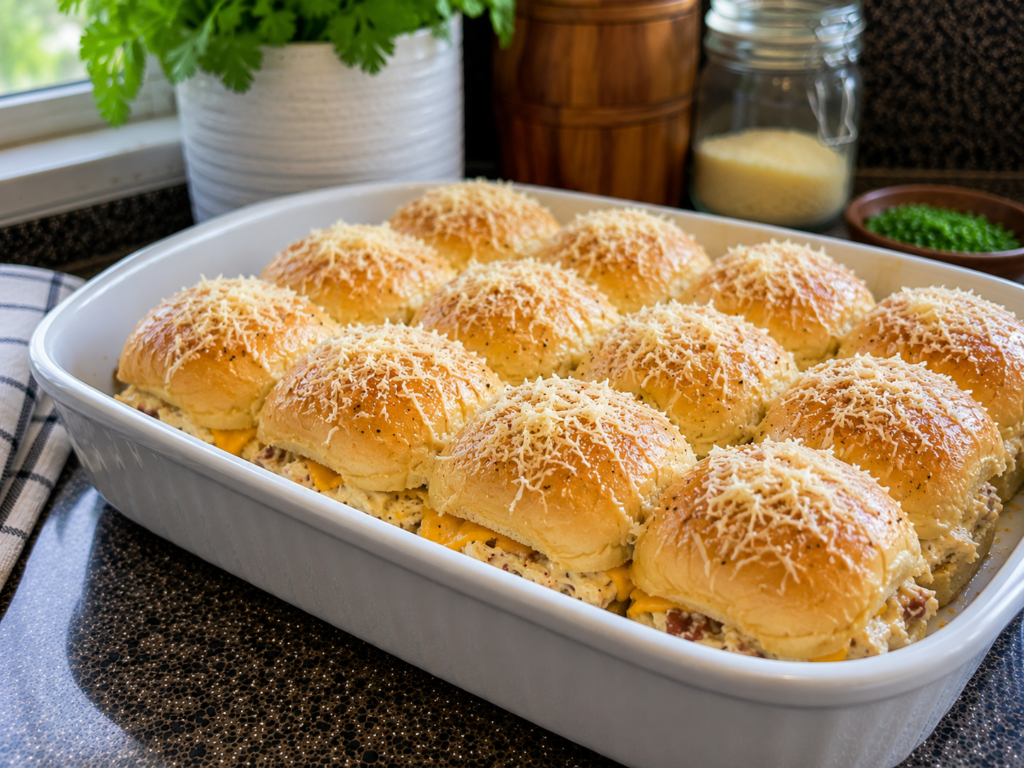
Melt a little butter and spoon it over the top of the rolls no brush needed, the back of a spoon does the job. Sprinkle parmesan over everything. If you have chives, scatter some on for looks. I didn’t have any, so mine skipped that step and still tasted fine.
Bake.
Cover the whole dish with foil and bake at 350°F for 25 minutes. Then remove the foil and bake another 5 to 8 minutes so the top gets a little golden.
Tips for Chicken Sliders
- Don’t pull it early.
- I got impatient and took mine out a touch too soon, and the bread was softer than I wanted the inside was still great, really creamy and moist, but that extra uncovered time genuinely matters if you want texture on top. Lesson learned.
- Keep the roll slab connected when slicing. It’s way easier to layer and serve as one unit than trying to reassemble a dozen separated rolls.
- Use pre-cooked bacon bites and rotisserie chicken if you actually want this done fast. Skipping those two shortcuts is where the real time goes.
- Taste the filling before it goes on the rolls it’s easy to adjust seasoning at that stage, much harder once it’s baked.
Variations If you Want In Crack Chicken Sliders
This is one of those recipes that’s genuinely forgiving, so mess around with it. Different cheese blends work fine try pepper jack if you want some heat. Real crispy bacon instead of the pre-cooked bites if you’ve got the time and want the crunch. You could also swap the onion powder and black pepper for a ranch seasoning packet if that’s more your speed. Make it yours.
Serving Suggestions in Chicken Sliders
These are made for a crowd potlucks, game day, a casual dinner where people just grab one (or three) off the pan. A simple side salad or some chips cuts through the richness nicely if you want to round it out into an actual meal instead of just snacking straight from the dish, which is also a completely valid way to eat these.
Storage & Reheating Instructions
Store leftovers covered in the fridge for up to 3 days. Reheat in a low oven, covered loosely with foil, so the tops don’t dry out or burn before the inside warms through a microwave works in a pinch but the bread gets a little soggy. I haven’t tried freezing these, and honestly with the cream cheese base I’m not sure the texture would hold up well, so I’d stick to fridge storage.
Frequently Asked Questions
Do I really need a rotisserie chicken, or can I cook my own?
→ You can absolutely cook and shred your own chicken if you have the time. I used rotisserie specifically because this was supposed to be a quick recipe, and it kept it that way.
Can I make these ahead of time?
→ You can assemble the sliders up to the baking step, cover, and refrigerate for a few hours before baking. Add a few extra minutes to the bake time if going in cold from the fridge.
Can I use real bacon instead of bacon bits?
→ Yes, cooked and crumbled real bacon works great here, it’s just more effort than the pre-cooked bits.
What if I don’t have parmesan?
→ Skip it or swap in a little extra shredded cheddar on top instead it won’t taste identical, but it’ll still be good.
Ingredients
Equipment
Method
- Rotisserie chicken is usually already pretty pull-apart, but I like smaller pieces in sliders, so I just broke it up more with my hands once it was out of the container.
- Do this in a pan over medium-low heat, stirring as it goes so it doesn’t stick or scorch. Once it’s melted and smooth, stir in the onion powder and black pepper. Then add the chicken and bacon bites and mix until everything’s coated and combined. It looks a little chaotic at this stage, honestly kind of unglamorous, but it smells really good.
- Don’t separate them keep the whole pack connected as one slab. Slice the entire thing in half horizontally so you end up with a top layer and a bottom layer. Put the bottom layer in your baking dish.
- Spread the chicken mixture over the bottom rolls, then add your shredded cheese on top of that. Put the top layer of rolls back on like a lid.
- Melt a little butter and spoon it over the top of the rolls no brush needed, the back of a spoon does the job. Sprinkle parmesan over everything. If you have chives, scatter some on for looks. I didn’t have any, so mine skipped that step and still tasted fine.
- Cover the whole dish with foil and bake at 350°F for 25 minutes. Then remove the foil and bake another 5 to 8 minutes so the top gets a little golden.