I Made the Mistakes So You Don’t Have To
Why You’ll Love This No-Bake Banana Pudding Cheesecake
Because it’s cold, creamy, no-oven-required, and it tastes like banana pudding and cheesecake had a baby that somehow got even better than either parent. It’s also genuinely low effort once you know the two things I learned the hard way, which I’m handing you upfront so your first attempt turns out better than mine did.
Ingredients for Banana Pudding Cheesecake
For the Nilla Wafer Crust
- 3 cups mini Nilla Wafers, finely crushed
- 1¼ cup unsalted butter, melted (½ stick)
For the Banana Pudding Cheesecake Filling
- 2 packets (3.4 oz each) French vanilla instant pudding mix
- 3 cups whole milk, cold
- 1 teaspoon vanilla extract
- 8 oz cream cheese, softened to room temperature
- 1 can (14 oz) sweetened condensed milk
- 2–3 medium ripe bananas, sliced
Note: The sweetened condensed milk is listed as optional in the original recipe, but I recommend using it because it adds sweetness and a creamy cheesecake-like texture.
Kitchen Tools Needed for No-Bake Banana Pudding Cheesecake
9-inch springform pan, don’t try to substitute here), a zip-lock bag for crushing the wafers, a mixing bowl, and a sturdy whisk. No mixer required, which honestly felt like a win on a lazy Sunday.
Step-by-Step Instructions
Make the crust.
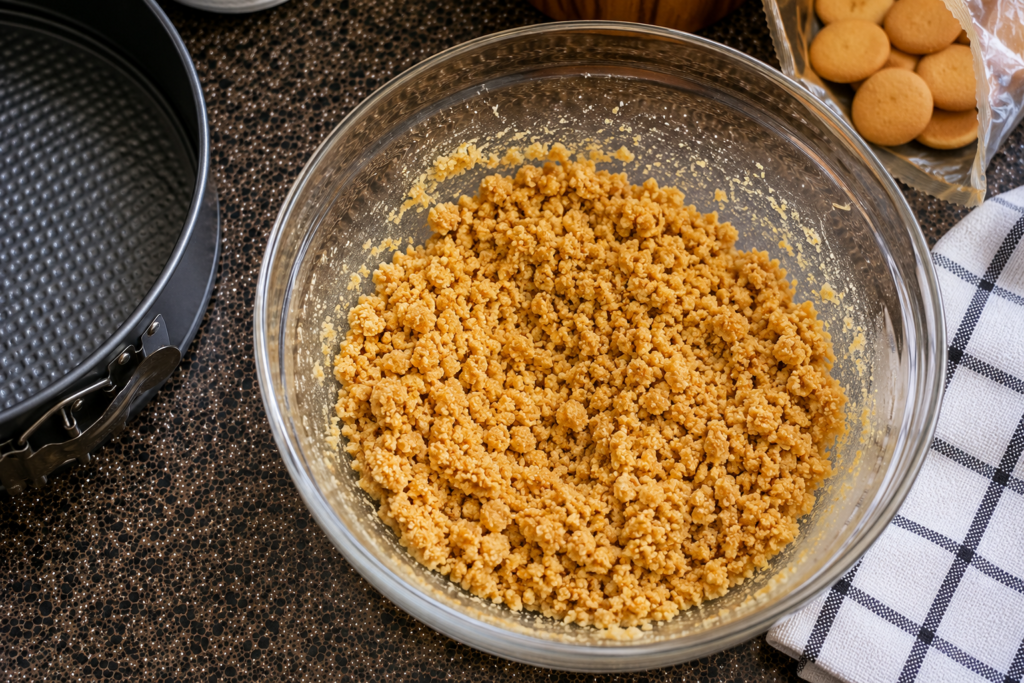
Put the wafers in a zip-lock bag and crush them. A food processor works if you want it tidy, but I just used my hands and it was fine a little texture in the crumbs is actually nice, you don’t need it perfectly uniform.
Pour the melted butter into the crumbs and mix until it looks like wet sand. Press it into the bottom of your springform pan with the back of a spoon, as evenly as you can get it.
Make the filling.
Mix your two pudding packets with the milk and vanilla. The box says 2 cups of milk per packet, so 4 cups total I used 4 and my filling didn’t set as firm as I wanted. I think 3 cups would’ve been better, so that’s what I’m telling you to start with. Let it sit about 5 minutes and you’ll see it thicken up.
Once it’s set a bit, add the cream cheese. Make sure it’s actually at room temperature or you’ll be fighting lumps the entire time. Room temp cream cheese breaks down easily with just a whisk.
Then stir in the sweetened condensed milk. You can skip it and use regular or powdered sugar instead, but the condensed milk adds a richness that’s hard to replicate. I’d keep it.
Layer it together.
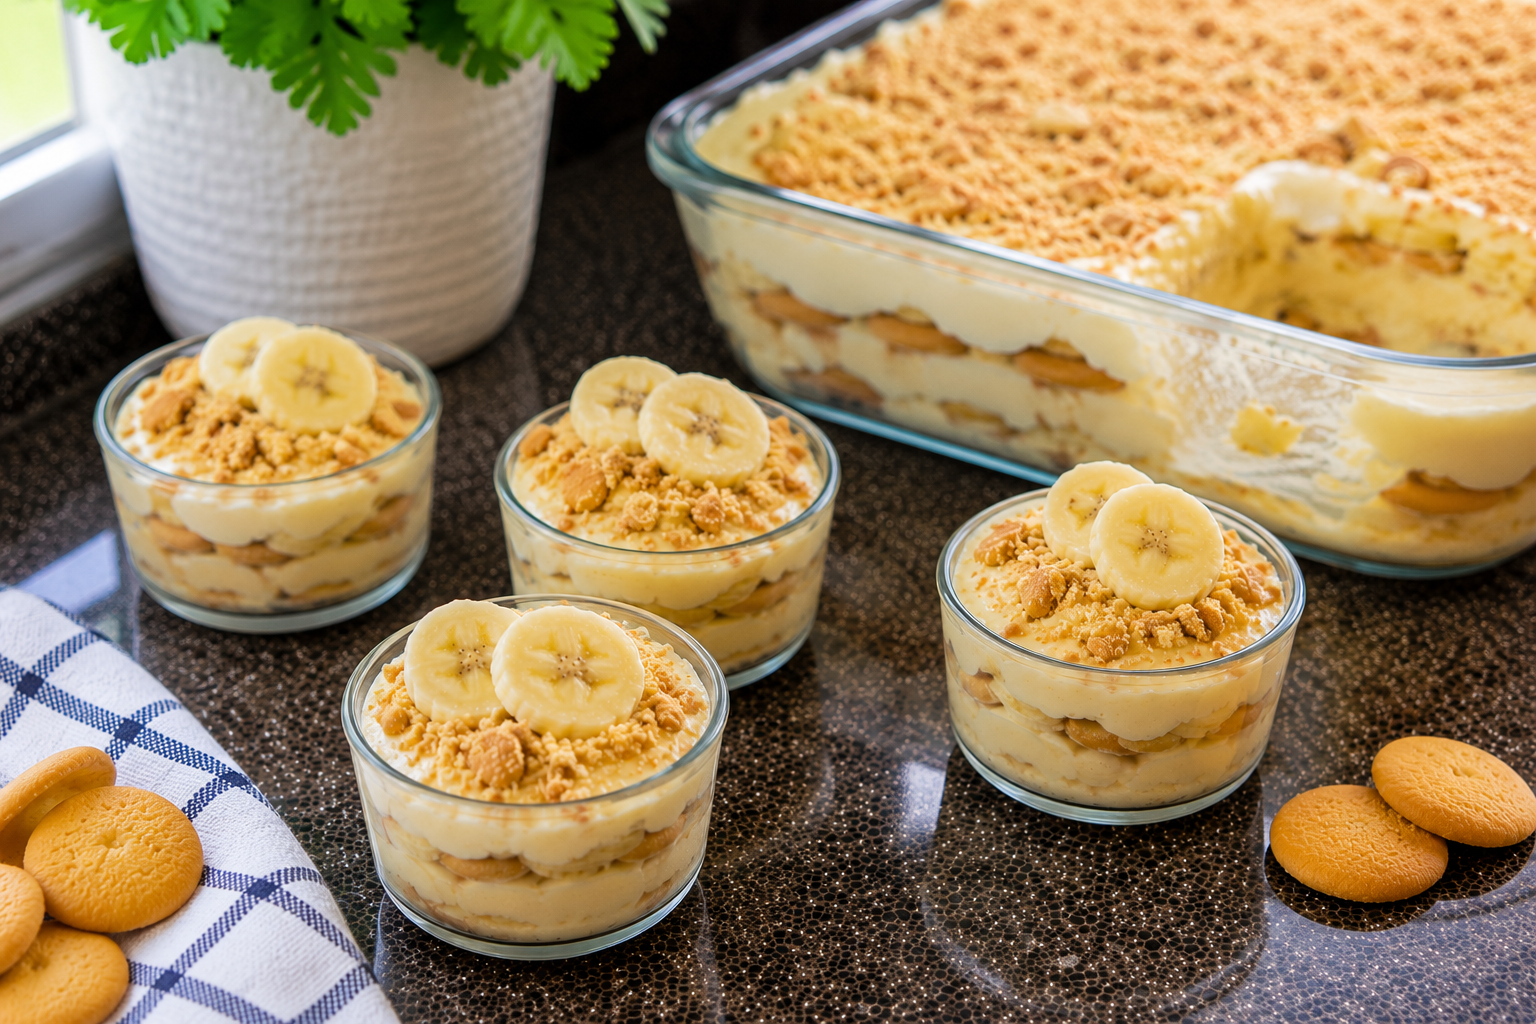
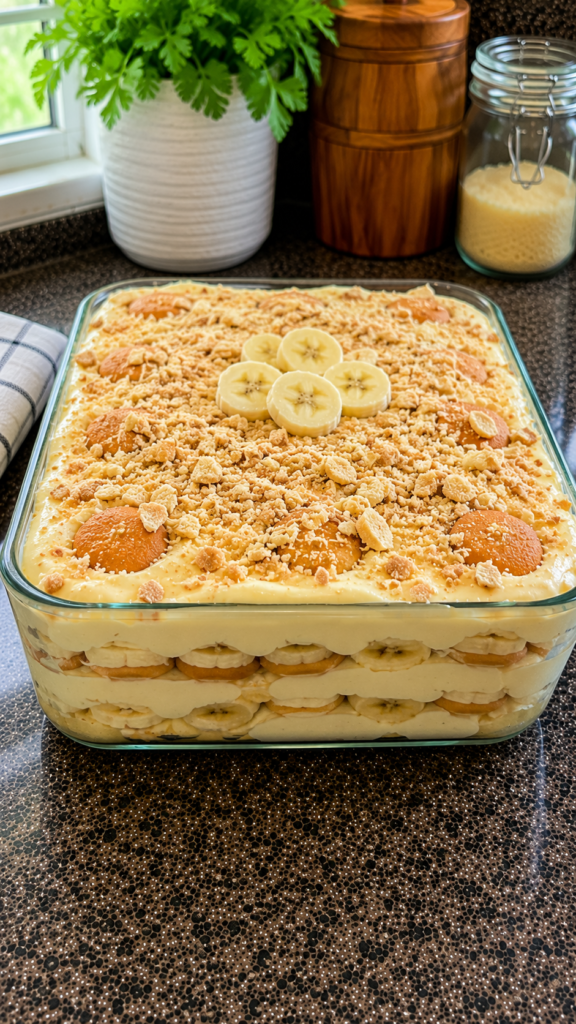
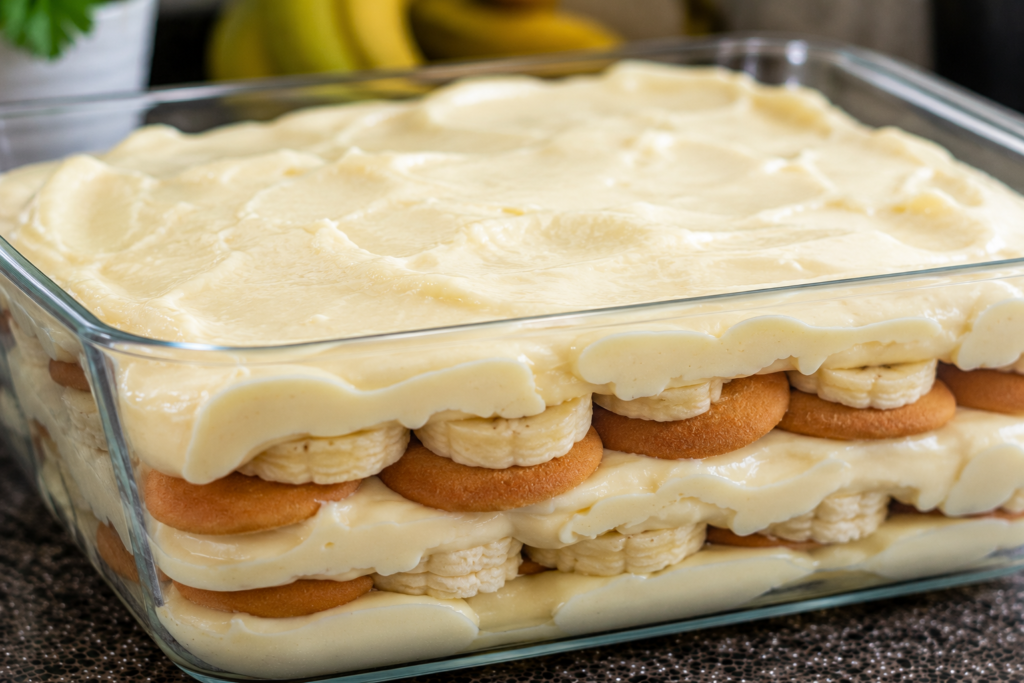
Pour some filling over your crust and spread it to the edges. Layer in Nilla wafers and banana slices there’s genuinely no strict order here. I did pudding first, then cookies and bananas, then repeated until I ran out, and finished with crumbled cookies on top.
Chill it.
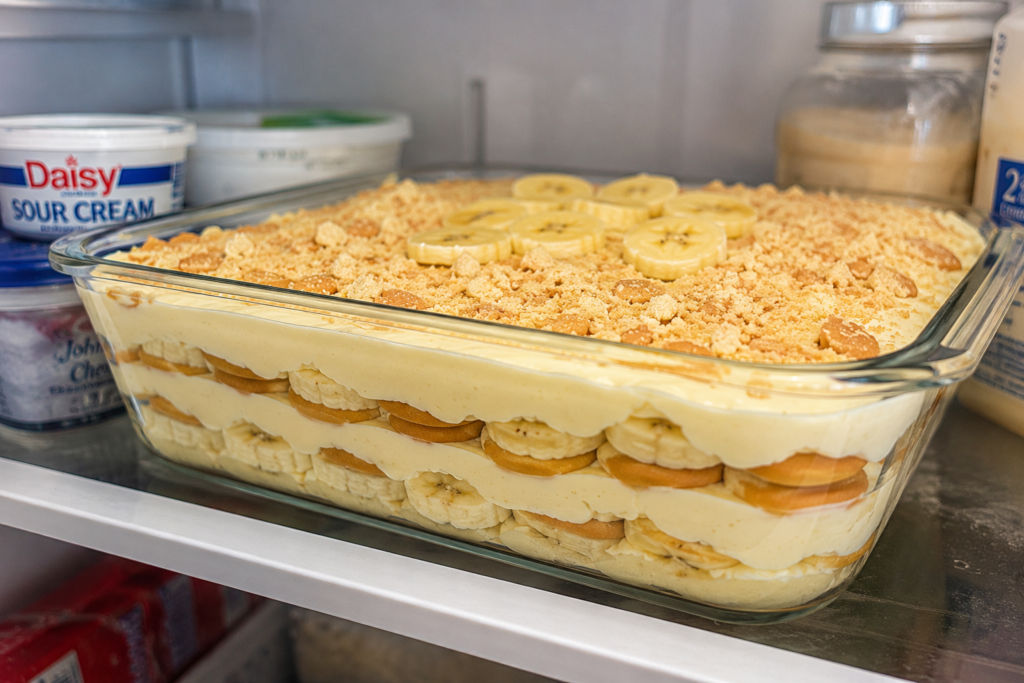
Cover and refrigerate. See below for how long, because this is the part I got wrong.
Pro Tips of No-Bake Banana Pudding Cheesecake
- Bake the crust for 5–8 minutes at 350°F before adding anything.
I skipped this and just refrigerated it while making the filling, and the crust stayed a little loose. Not a disaster, but baking it briefly first would help it hold together better when sliced. Learn from me here.
- Use 3 cups of milk, not the 4 the box suggests.
More milk means a softer set, and you want this one to actually hold its shape.
- Let it chill overnight, not just a few hours.
I only gave mine about three hours and it was falling apart when I cut into it. It still tasted great and the cookies were surprisingly crunchy, but it wasn’t holding together the way it should have. Overnight is the move, even though standing next to a fridge full of banana pudding smell for that long is genuinely difficult.
Variations for No-Bake Banana Pudding Cheesecake
Skip the sweetened condensed milk if you want a slightly less rich version regular or powdered sugar works, you’ll just lose a bit of that depth. Vanilla wafers work fine in place of the minis if that’s what your store has. You could also swap French vanilla pudding for plain vanilla or banana cream pudding if you want to push the banana flavor even further.
Serving idea for Banana Pudding Cheesecake
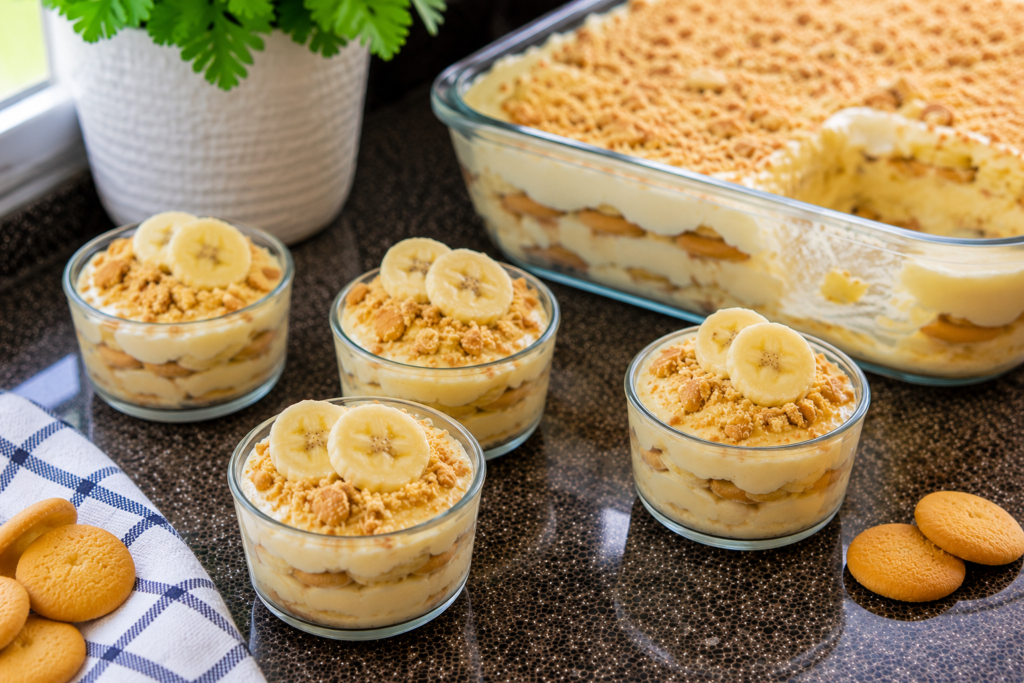
Serve it cold, straight from the fridge, with extra banana slices and a few crushed wafers on top for looks. It’s a great one to bring somewhere since it travels fine once it’s fully set just keep it cold until you’re ready to serve.
Storage & Reheating Instructions
Keep it covered in the fridge, and honestly it’s better after that first full night in there the flavors settle and the texture firms up. It’ll keep for about 3–4 days, though the bananas will start to brown a bit after day two, which doesn’t affect the taste but isn’t the prettiest. This isn’t a freezer situation given the pudding and cream cheese base.
Frequently Asked Questions about Banana Pudding Cheesecake
Do I really need to bake the crust, or can I skip it like you did?
→ You can skip it mine was still edible and fine but baking it briefly first genuinely helps it hold together for cleaner slices. If you’re short on time, skipping is fine, just know slices might be a little messier.
Can I use fewer than 3 cups of milk?
→ I wouldn’t go lower than that. 3 cups was already better than the 4 the box suggested; going lower risks the pudding not dissolving properly.
How long does it actually need to chill?
→ Overnight is best. Three hours worked in a pinch but the texture wasn’t fully set it tasted good, just fell apart more than I wanted when I sliced it.
Can I make this ahead for a party?
→ Yes, and honestly you should make it the night before you need it. You’ll be in much better shape than I was cutting into mine too early.
Will the bananas turn brown?
→ A little, especially after the first day or two. It doesn’t affect the flavor, just the look. If you’re serving it right away it won’t be an issue.
No-Bake Banana Pudding Cheesecake
Ingredients
For the Crust
- 3 cups Mini Nilla Wafers crushed (about 8 ounces)
- 1¼ cup unsalted butter melted (½ stick)
For the Banana Pudding Filling
- 2 packages French vanilla instant pudding mix 3.4 ounces each
- 3 cups whole milk cold
- 1 teaspoon vanilla extract
- 8 ounces cream cheese softened to room temperature
- 1 can sweetened condensed milk 14 ounces
- 3 medium bananas sliced
For Layering and Topping
- 1½ cups Mini Nilla Wafers for layering and topping
Instructions
Make the crust.
- Put the wafers in a zip-lock bag and crush them. A food processor works if you want it tidy, but I just used my hands and it was fine a little texture in the crumbs is actually nice, you don’t need it perfectly uniform.
- Pour the melted butter into the crumbs and mix until it looks like wet sand. Press it into the bottom of your springform pan with the back of a spoon, as evenly as you can get it.
Make the filling.
- Mix your two pudding packets with the milk and vanilla. The box says 2 cups of milk per packet, so 4 cups total I used 4 and my filling didn’t set as firm as I wanted. I think 3 cups would’ve been better, so that’s what I’m telling you to start with. Let it sit about 5 minutes and you’ll see it thicken up.
- Once it’s set a bit, add the cream cheese. Make sure it’s actually at room temperature or you’ll be fighting lumps the entire time. Room temp cream cheese breaks down easily with just a whisk.
- Then stir in the sweetened condensed milk. You can skip it and use regular or powdered sugar instead, but the condensed milk adds a richness that’s hard to replicate. I’d keep it.
Layer it together.
- Pour some filling over your crust and spread it to the edges. Layer in Nilla wafers and banana slices there’s genuinely no strict order here. I did pudding first, then cookies and bananas, then repeated until I ran out, and finished with crumbled cookies on top.
Chill it.
- Cover the cheesecake and refrigerate for at least 8 hours, preferably overnight, until fully set and firm enough to slice.